Did you know a clean generator can run cooler and longer because debris blocks cooling paths we often overlook? We approach cleaning methodically: disconnect power sources, fuel, and battery, let the unit cool, wipe loose grime with a dry cloth, then inspect air filters and fuel caps for blockages, and clean terminals if needed. We’ll outline precise steps and safety checks that keep you in control and prevent damage, with a clear path to the next part of our maintenance plan.
Key Takeaways
- Disconnect power, fuel, and battery; ensure the generator is off and cooled before cleaning.
- Remove loose exterior debris, inspect air filters and fuel caps, and clean battery terminals to prevent corrosion.
- Wipe with a dry cloth, use mild soap solution for grime, rinse cloth, and dry surfaces thoroughly.
- Check fuel quality, replace stale fuel, and inspect oil and air-filter condition; perform a final run test.
- After cleaning, store properly: cool-down, drain or stabilize fuel, disconnect battery, seal openings, and note maintenance date.
Why Clean a Portable Generator Before Use
Before using a portable generator, cleaning is essential to prevent startup problems, reduce emissions, and protect the engine from contaminants. We start by removing loose debris from exterior surfaces, then inspect air filters and fuel caps for blockages. Our approach is methodical: we verify that ignition components are dry, ensure battery terminals are clean, and confirm there’s no corrosion. We document each step as we proceed, because the goal is repeatable reliability. Cleaning supplies are gathered early, including rags, mild solvent, brushes, and a microfiber cloth. We treat the procedure like a maintenance checklist, identifying checklist items before operation and logging results afterward. This discipline minimizes residue that could ignite or clog circuits, supporting smooth startup and consistent performance from the first run.
Safety Basics to Start Clean Maintenance
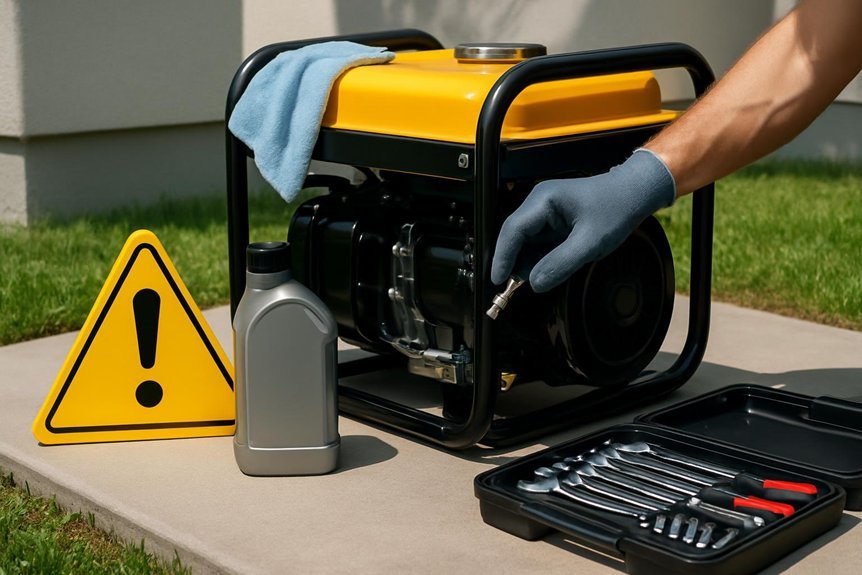
We gear up by selecting proper Personal Protective Equipment to guard against sparks, spills, and sharp edges. Next, we disconnect both power and fuel sources to ensure no energy remains active during cleaning. We’ll follow a deliberate, stepwise approach to prevent accidents and protect the generator and surrounding area.
Personal Protective Equipment
Personal protective equipment (PPE) is essential for safe, effective generator maintenance. We approach PPE as a mandatory, standardized layer that minimizes exposure to hazards during cleaning. Our PPE basics begin with sturdy, closed-toe footwear and snug, non-slip gloves rated for chemical contact and sharp edges. We select eye protection—goggles or a face shield—to shield against splashes, dust, and debris. We wear a dust mask or respirator when venting, filtering particulates, or cleaning with aerosols. For skin protection, long sleeves and durable pants reduce friction and contact risks. We ensure a clean, labeled storage kit for PPE, inspect gear before use, and replace damaged items promptly. Adherence to protective gear protocols reduces risk and supports repeatable, safe maintenance performance.
Disconnect Power and Fuel
First, we verify and isolate all power sources and fuel to prevent accidental startup or ignition during cleaning. We outline safe steps for disconnect power and manage fuel handling before any touchable component is cleaned. We ensure the generator is off, unplugged, and cooled, then disconnect the spark plug cap and battery if applicable. For fuel, drain or seal the tank per manufacturer guidance, and cap the line to prevent leaks. Use approved containers for any draining. Table below summarizes actions.
| Step | Action | Compliance |
|---|---|---|
| 1 | Power off | Verify off state |
| 2 | Disconnect | Spark/battery removed |
| 3 | Fuel | Tank sealed or drained |
Step-by-Step Pre-Use Wipe-Down and Exterior Cleaning
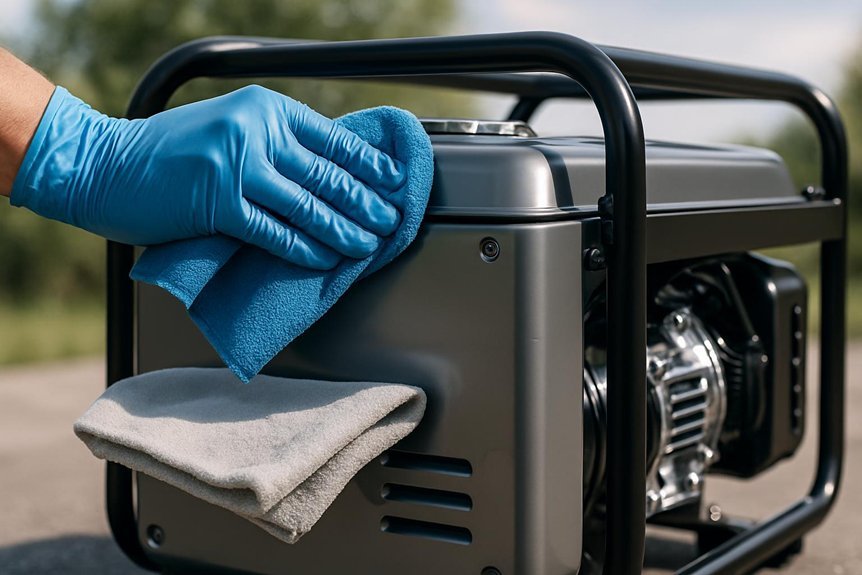
Before handling the generator, wipe down the exterior with a clean, dry cloth to remove loose dust and debris, then apply a mild soap solution to a damp cloth for any stuck-on grime. We proceed with a structured wipe-down to minimize moisture intrusion. Start at the top, move in deliberate, linear strokes across exterior surfaces, inspecting for residue before it dries. Rinse the cloth as needed to prevent smearing, and avoid excessive dampness near controls, outlets, and intake vents. After cleaning, dry all surfaces thoroughly with a lint-free towel. Verify that vents, housings, and decals are free of moisture and debris. Use designated cleaning materials only, maintaining consistent technique to protect finishes and ensure accurate visual inspection of exterior surfaces. This prepares the unit for safe operation and detailed maintenance checks.
Fuel, Oil, and Air-Filter Care for Clean Operation
We’ll begin with a concise, systematic check of fuel, oil, and air-filter care to guarantee clean operation: we’ll verify fuel quality and level, drain or replace stale fuel as needed, change the oil per the manufacturer’s schedule, and inspect or replace the air-filter to maintain proper airflow and engine performance. Next, assess the fuel system for leaks, clogged lines, and degraded diaphragms; replace fuel filters if indicated and ensure stable fuel supply. For air filtration, inspect the intake element, clean or replace as specified, and verify unobstructed airflow to the carburetor. Document oil level, filter condition, and any anomalies. Perform a final run test, listening for abnormal sounds, and confirm consistent idle with clean combustion.
Spark Plugs, Ventilation, and Engine Interior Checks
From here, we’ll inspect the spark plugs, ventilation paths, and the engine interior to ensure reliable ignition, proper airflow, and clean combustion. We approach this methodically: disconnect power, remove the spark plug leads, and inspect electrodes for wear, gap correctness, and fouling. If fouled, we clean or replace according to manufacturer specs, ensuring even gaps. Next, we trace ventilation routes, clearing obstructions and confirming unobstructed intake and crankcase breather lines to prevent pressure buildup. With the cover off, we inspect the combustion chamber surfaces for carbon buildup, wiping to a smooth finish without displacing seals. Reinstall components, torque fasteners to spec, and reattach plugs. Finally, perform a brief idle check to verify smooth firing and consistent ventilation, noting any irregular sounds or smoke for further diagnosis.
Safe Storage, Seasonal Shutdowns, and Routine Maintenance
We’ll cover safe storage tips and seasonal shutdown steps with a precise, stepwise approach to protect the generator’s reliability. We’ll outline proper fuel, battery, and enclosure considerations, plus routine maintenance tasks to perform before storage and after deactivation. If you follow these methods, you’ll minimize corrosion, fuel spoilage, and startup issues when you resume use.
Safe Storage Tips
To store a portable generator safely, start with a complete shutdown and cool-down, then prepare it for long-term storage by draining fuel or stabilizing it as recommended by the manufacturer. We approach safe storage with a methodical checklist: clean surfaces to remove dirt and condensate, dry thoroughly, and inspect for corrosion or wear. Store in a dry, ventilated area with stable ambient conditions, controlling storage humidity to minimize moisture-related damage. Disconnect and protect batteries, if present, monitoring for battery corrosion and applying terminal protection as required. Drain or stabilize fuel to prevent gum formation, and cap all openings to deter contamination. Document maintenance dates and store configuration settings for rapid reassembly, while ensuring cords and attachments are clean, labeled, and protected from impact. Regular checks verify long-term readiness.
Seasonal Shutdown Steps
As seasons change, we adjust our generator care to ensure reliability when power is needed most. Seasonal shutdown steps require a disciplined routine: empty fuel safely, replace oil if needed, and run auto-stop checks to verify cooling. We document the exact sequence, ensuring storage cleanliness and minimal residue in the crankcase, lines, and filters. We disconnect the battery, preserve it per spec, and cap all openings to prevent moisture ingress. We rotate spark plugs or inspect for wear, then seal the intake and exhaust to deter pests. We store the unit in a dry, ventilated area, elevated off concrete, with a labeled maintenance log updated before and after shutdown. Finally, we plan a pre-season check to confirm readiness for seasonal startup.
Frequently Asked Questions
How Often Should I Inspect the Generator’s Exterior for Damage?
We inspect exterior weekly and after every use to minimize risk; our risk assessment includes checking for cracks, corrosion, and loose fittings, documenting findings, and scheduling repairs promptly. This disciplined routine protects performance and safety for operators and bystanders.
Can I Use Household Cleaners on Sensitive Engine Labels?
We can’t use household cleaners on sensitive engine labels; we’ll avoid them and follow label-safe methods. Cleaning label safety matters, and we recommend removing dirt with a soft brush, then applying approved cleaners only where permitted. We’ll proceed carefully.
What Safety Gear Is Essential for Generator Cleaning?
We must wear safety gloves, eye protection, and disconnect batteries as essential safety gear; we proceed methodically, ensuring batteries are disconnected, gloves and eye protection remain intact, and our approach remains precise and controlled during generator cleaning.
Should I Disconnect Batteries Before Cleaning Internals?
Yes, we disconnect the batteries before inspecting internals. This guarantees safety; follow battery precautions, cap terminals, and store securely. For disposal considerations, handle any damaged cells responsibly and document disposal per local regulations.
How Do I Dispose of Used Cleaning Wipes and Rags Safely?
We dispose wipes and rag disposal promptly in a sealed container, then transfer to hazardous waste per local guidance. We dispose wipes in lined trash if permitted, but never in regular waste; we minimize fumes and contamination risks.
Conclusion
We’ve walked through a methodical cleanup routine, and as we test each step, a certainty emerges: a well-kept generator behaves like a trusted instrument, its performance tracing a clear, mechanical line. When we verify ventilation, secure the fuel, and wipe away grime, we’re validating a theory—that cleanliness reduces resistance, prolongs life, and minimizes risk. So, we proceed with disciplined care, logging each action, and anticipate dependable starts, smooth operation, and safer storage, season after season.

